Master DIY Dog Grooming: A Safe & Simple Home Guide
Our blogs are well-researched and medically reviewed under editorial team. The information is sourced from trusted and accurate sites.
How do I groom my dog myself?
To groom your dog at home. You need the right tools first. Gather a brush and clippers. Get a secure table or station. Brush the fur to remove tangles. Bathe the dog with pet shampoo. Dry the coat completely. Clip the fur carefully. Trim the nails. Clean the ears. Be patient with your pet.
Why Groom at Home?
Taking your furry friend to a professional groomer every six weeks adds up quickly. The cost of owning a dog is already high, and grooming fees often make up a large share of that budget. Learning to groom your dog at home is a cost-effective way to save money over your pet’s lifespan.
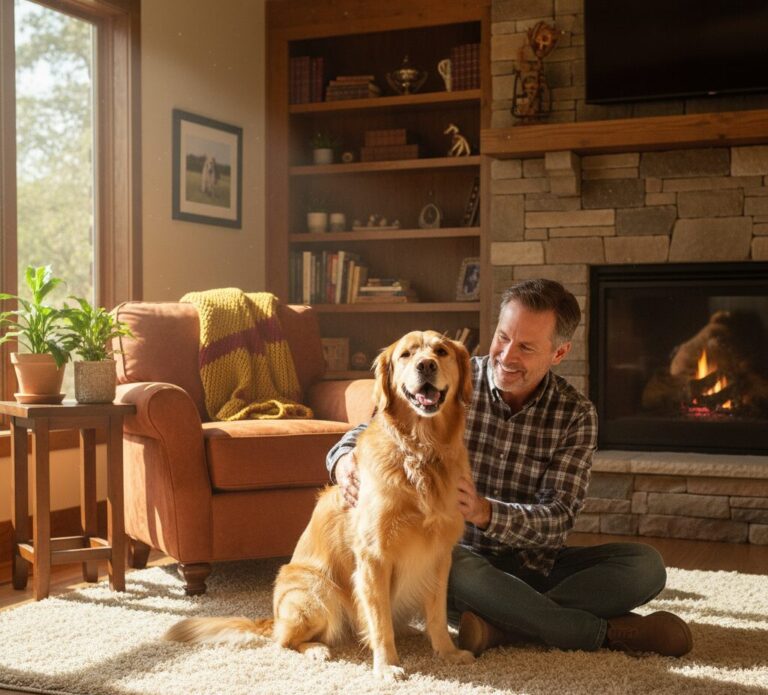
Beyond the financial savings, DIY dog grooming offers a unique opportunity to bond. You build trust with your animal through touch and care. You also have the opportunity to examine their body closely for any new lumps, bumps, or skin issues that a stranger might miss.
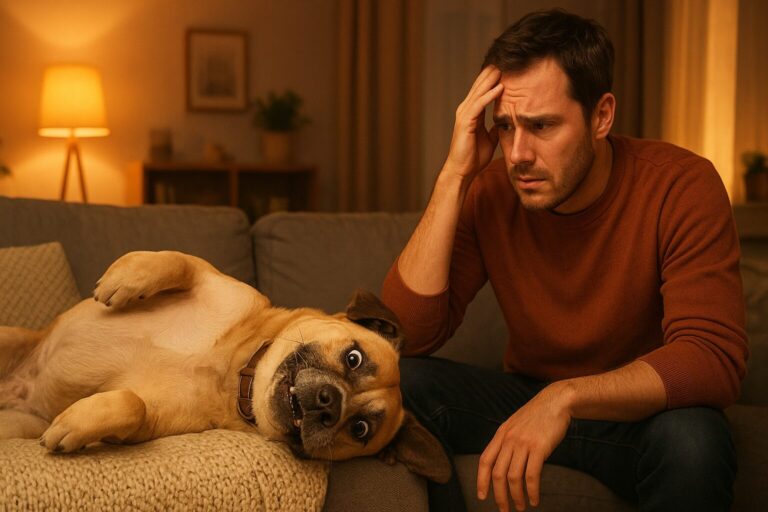
However, starting can feel overwhelming. Many owners feel nervous about handling sharp scissors or buzzing clippers near their beloved pet. That fear is normal. This guide is designed to make the process simple and safe. We will walk you through the essential tools, how to set up your station, and the exact steps to follow for a fresh, clean pup.
Setting Up Your DIY Dog Grooming Station
One of the biggest mistakes beginners make is trying to groom their dog on the living room floor or the kitchen counter. This usually leads to back pain for you and a stressed-out dog sliding around on a slick surface. To master dog grooming for beginners at home, you need a dedicated setup.
The Importance of a Dedicated Space
You need a space that keeps the mess contained. Dog hair will fly everywhere once you start clipping and drying. A garage, a laundry room, or a bathroom are usually the best choices. The area needs to be well-lit so you can see exactly what you are cutting. Good lighting prevents accidents.
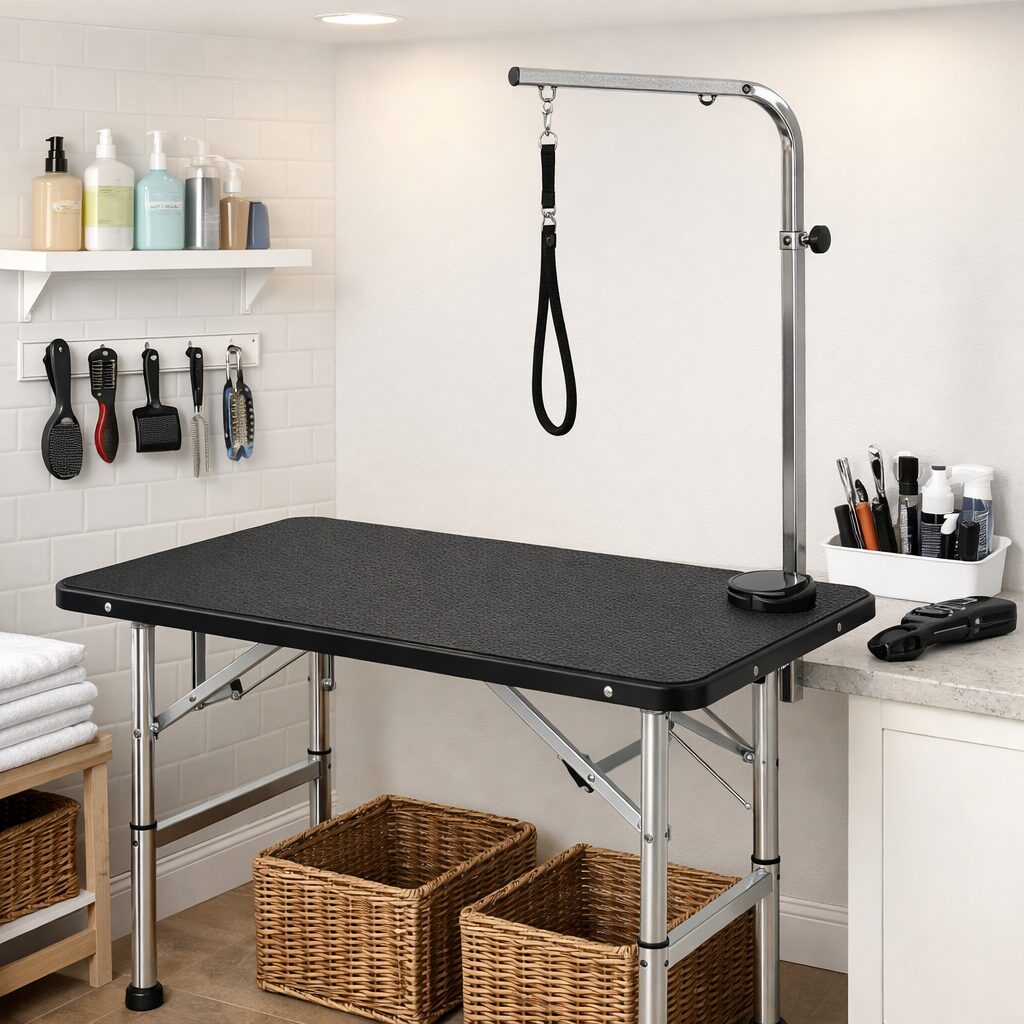
The DIY Dog Grooming Table
A professional grooming table is a great investment, but you can also create a DIY dog grooming table. If you build one, ensure it is completely stable. It should not wobble when the dog moves. The surface must be non-slip. A yoga mat or a rubber bath mat placed on top of a sturdy table works well. This gives your dog traction, which makes them feel secure.
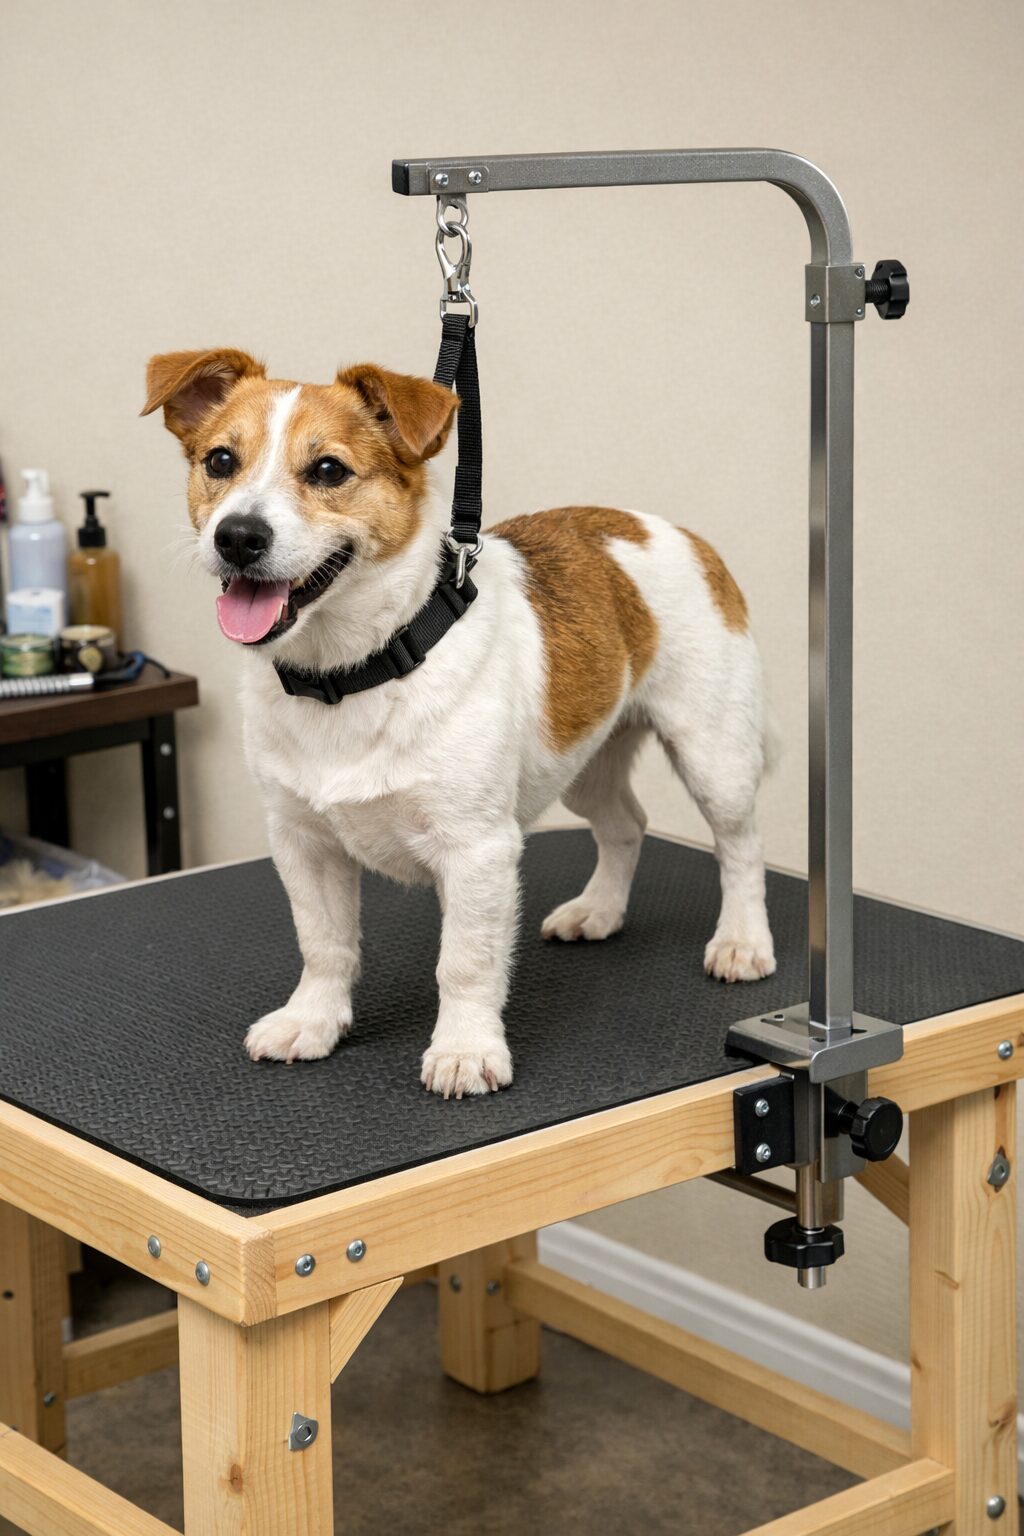
The DIY Dog Grooming Arm
This is a crucial piece of safety equipment. A grooming arm is a metal bar that attaches to the table. It features a loop to gently hold the dog’s neck. This keeps the dog standing in one place. It prevents them from sitting while you work on their rear. Most importantly, it prevents them from jumping off the table, which could cause serious injury.
The DIY Dog Grooming Tub
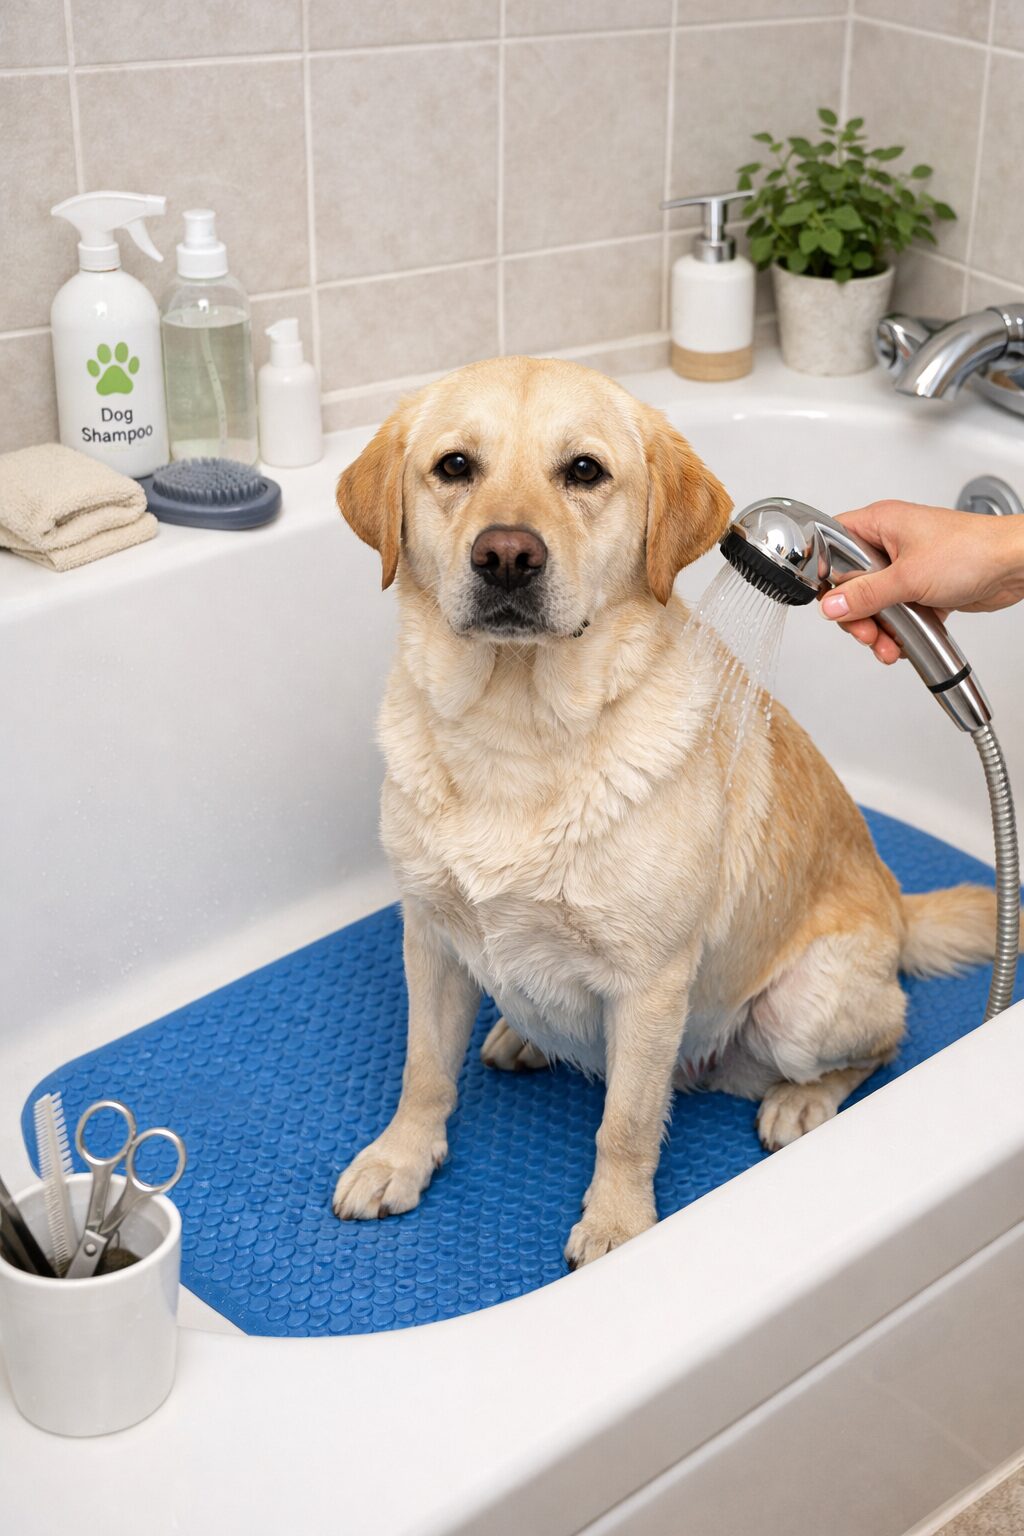
For the bathing portion, you have options. Small dogs can be washed in a deep utility sink. For larger breeds, a bathtub is standard. However, leaning over a tub can hurt your back. Some owners build a raised DIY dog grooming tub using stock tanks or shower pans elevated on a wooden frame. If you use a standard human bathtub, always put down a non-slip mat so the dog does not panic.
| Station Essentials | Why You Need It |
| Non-slip mat | Prevents the dog from sliding and panicking. |
| Good lighting | Ensures you can clearly see skin tags or mats. |
| Secure leash loop | Keeps the dog on the table safely. |
| Easy water access | Makes rinsing faster and less stressful. |
Building Your DIY Dog Grooming Kit

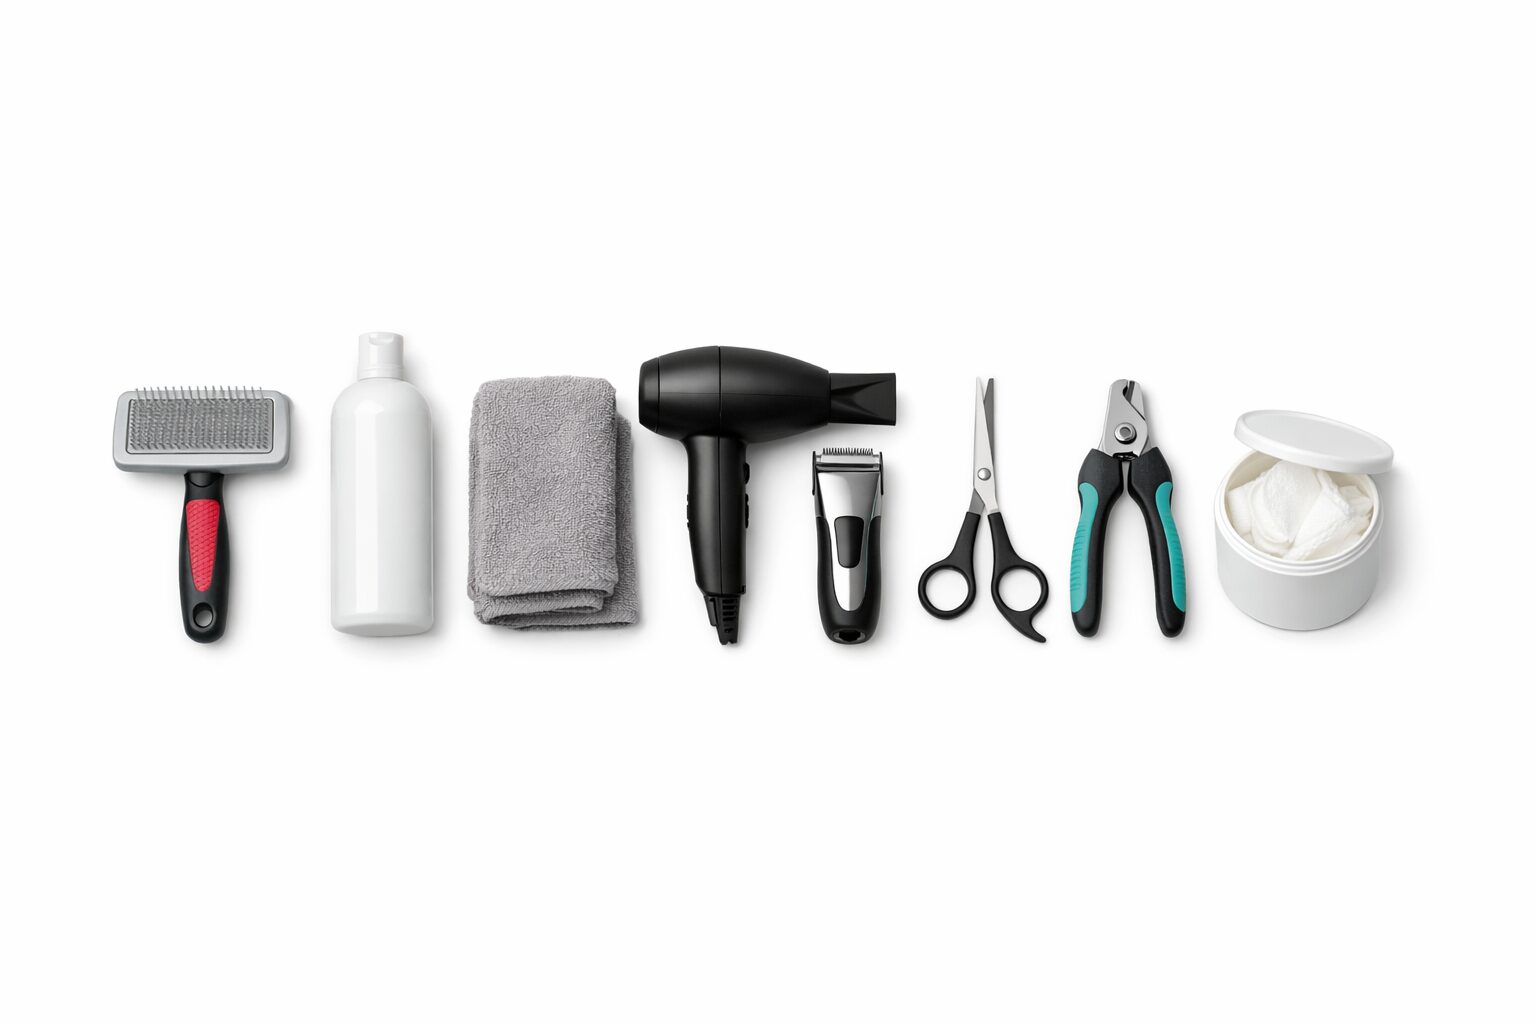
You cannot do a good job with kitchen scissors and human shampoo. To achieve professional results, you need to build an effective DIY dog grooming kit. Having the right tools makes the job faster and safer.
The Best DIY Dog Grooming Clippers
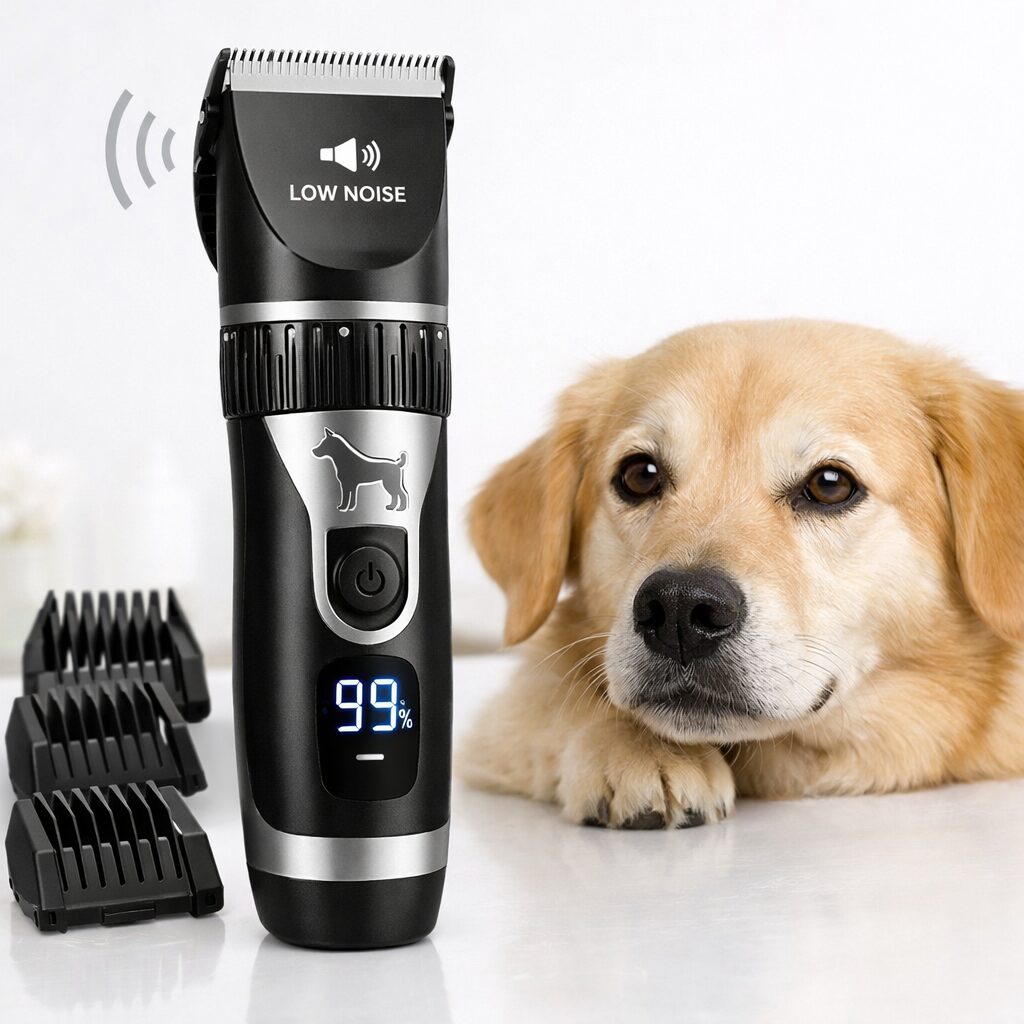
Invest in quality clippers. Cheap ones will snag the hair and overheat, causing the dog’s skin to burn. Look for the best DIY dog grooming clippers designed for pets. Low noise is best. Loud buzzing scares many dogs. Cordless options are easier to maneuver around the legs and belly without getting tangled.
The DIY Dog Grooming Hammock
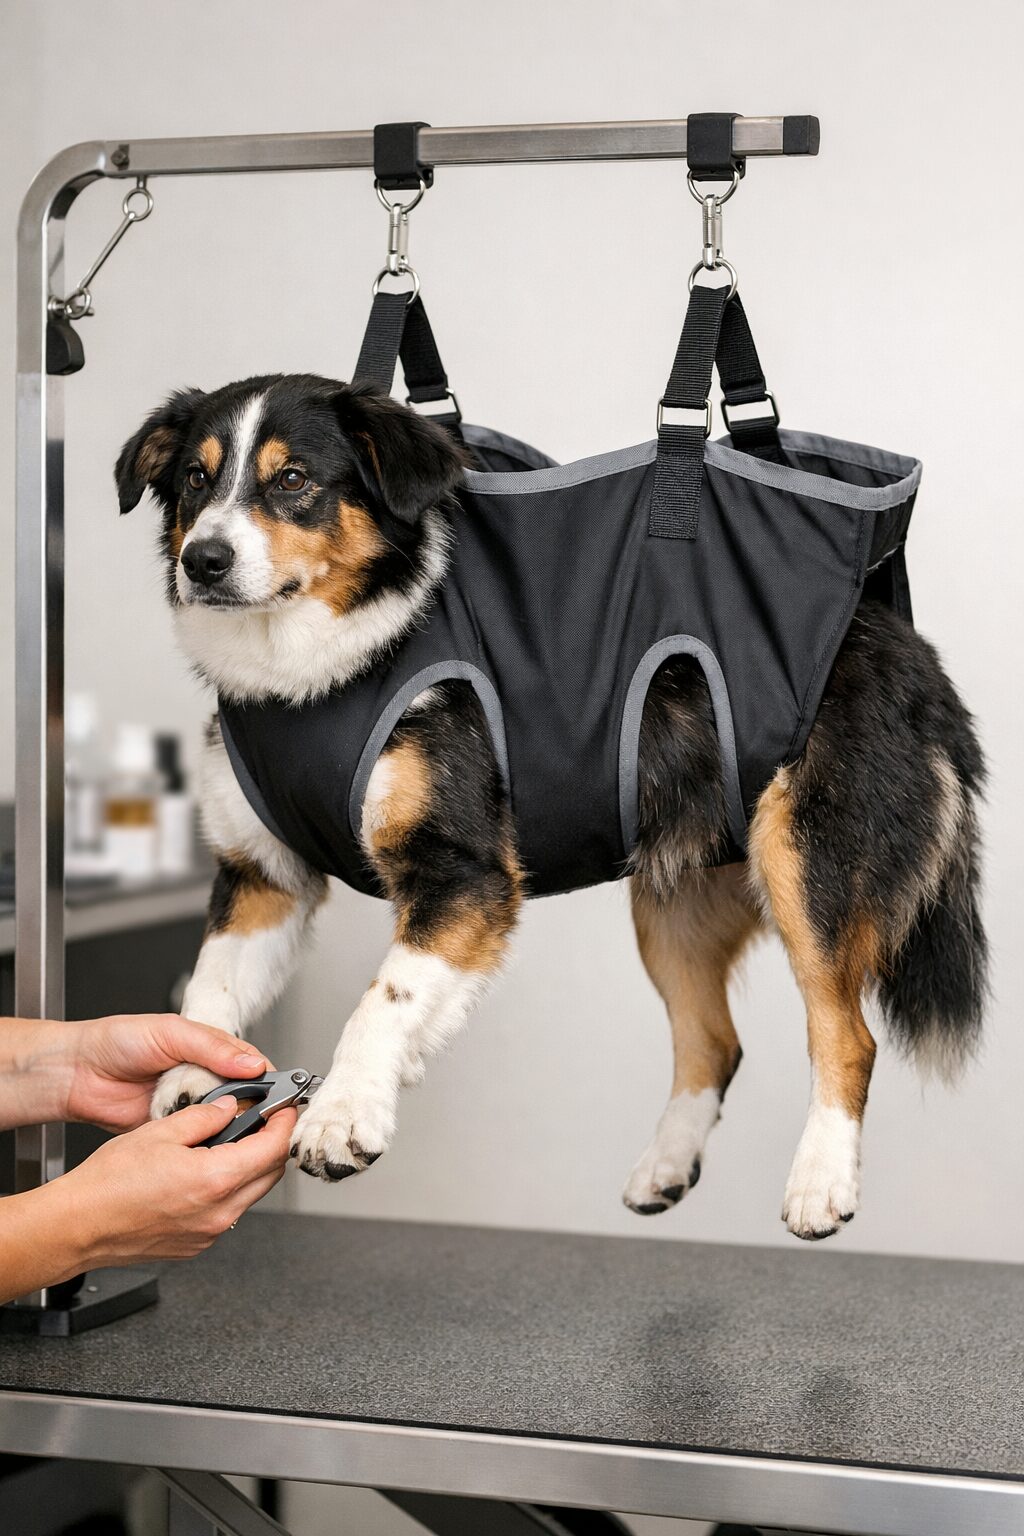
If your dog hates having their paws touched, this tool is a lifesaver. A DIY dog grooming hammock is a sling that supports the dog’s body while leaving their legs dangling. You hang the hammock from a grooming arm or a sturdy bar. This keeps the dog comfortable while immobilizing it. It is excellent for nail trimming because the dog cannot pull their paw away.
DIY Dog Grooming Restraint Options
Safety is the top priority. In addition to the grooming arm, you may need other DIY dog-grooming restraint options. A “grooming loop” is the standard leash that attaches to the arm. Never leave a dog unattended in a restraint. If they try to jump, they could hurt their neck.
List: Must-Have Tools
- Slicker brush: Essential for removing loose fur and tangles.
- Steel comb: Used to find hidden mats that the brush missed.
- Nail clippers: Choose a style that fits your dog’s size (guillotine or scissor).
- Styptic powder: This stops bleeding instantly if you cut a nail too short.
- Electric clippers: The main tool for cutting the coat length.
- Scissors for finishing: blunt-tipped scissors are best for eye safety.
The 7 Steps of Grooming a Dog
Now that you have your station and your kit, it is time to start. Do not rush. Follow these steps in order to ensure a smooth process. This is your comprehensive at-home dog grooming workflow for beginners.
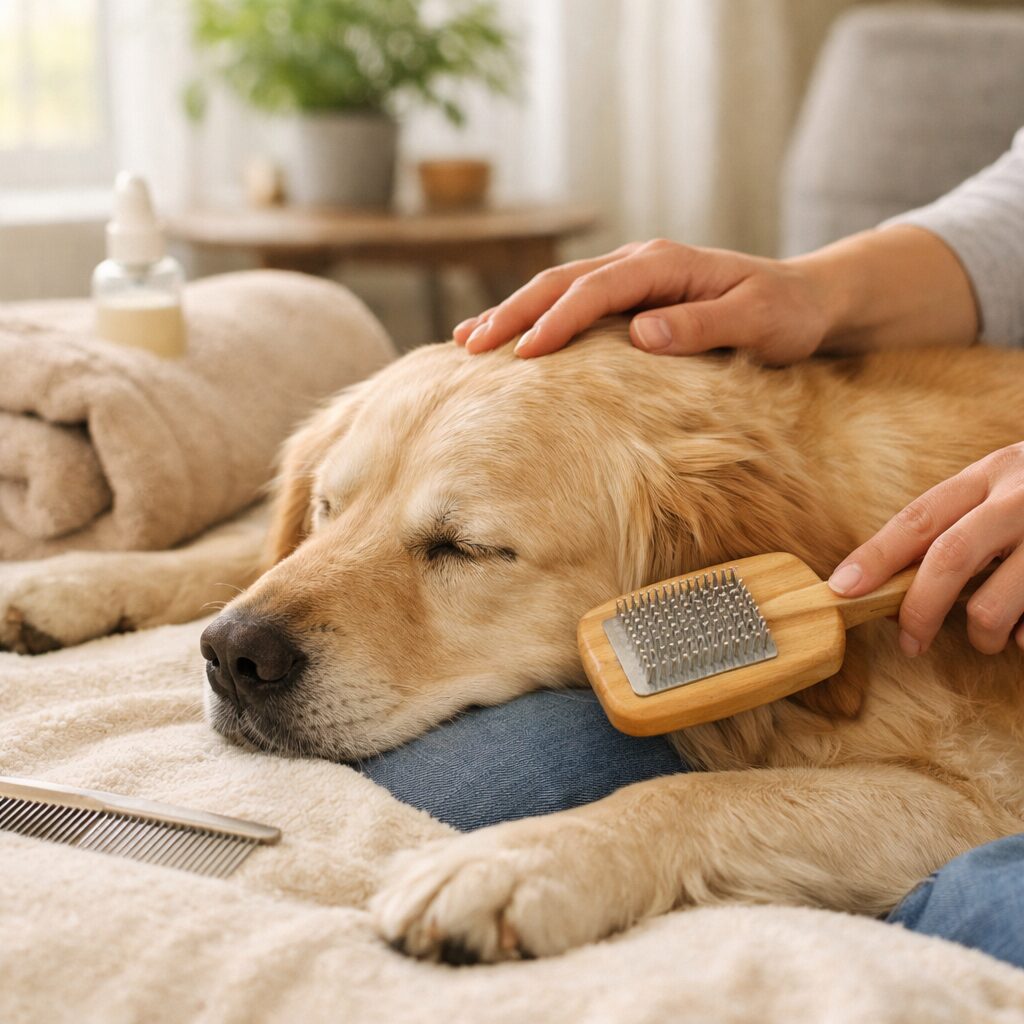
Step 1: Prep and Brush
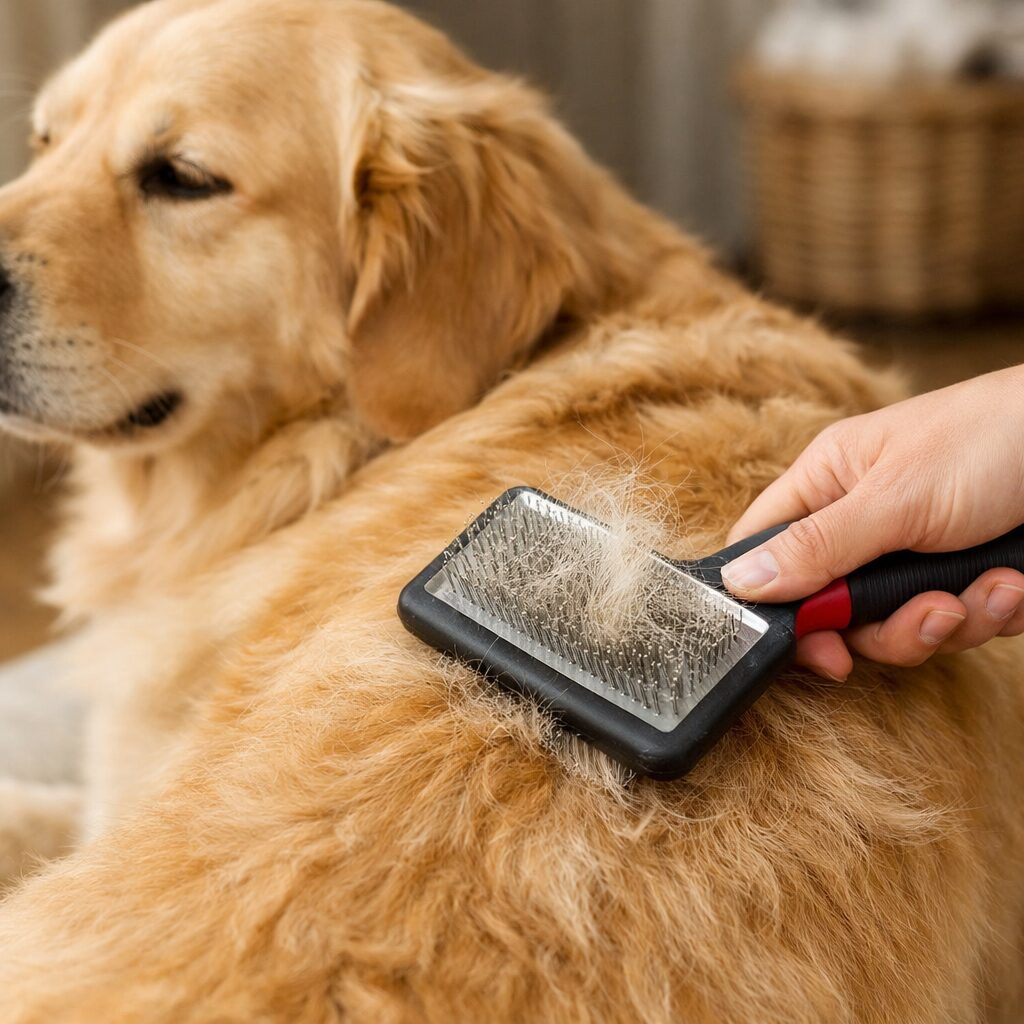
Never bathe a matted dog. Water acts like glue for hair mats. It tightens them up and makes them impossible to brush out later. The first step is always a thorough brushing. Use your slicker brush to work through the coat. Follow up with the steel comb. The comb should glide through the fur without snagging. If it hits a snag, you still have tangles to work on.
Step 2: Bathe
Once the coat is tangle-free, move to the bath. Use warm water. Test the temperature on your wrist first. Wet the dog down to the skin. Apply a dog-specific shampoo. Human shampoo often has an incorrect pH balance and can dry out the skin. Lather well, paying attention to the paws and underbelly. Rinse until the water runs completely clear. Leftover soap causes itching.
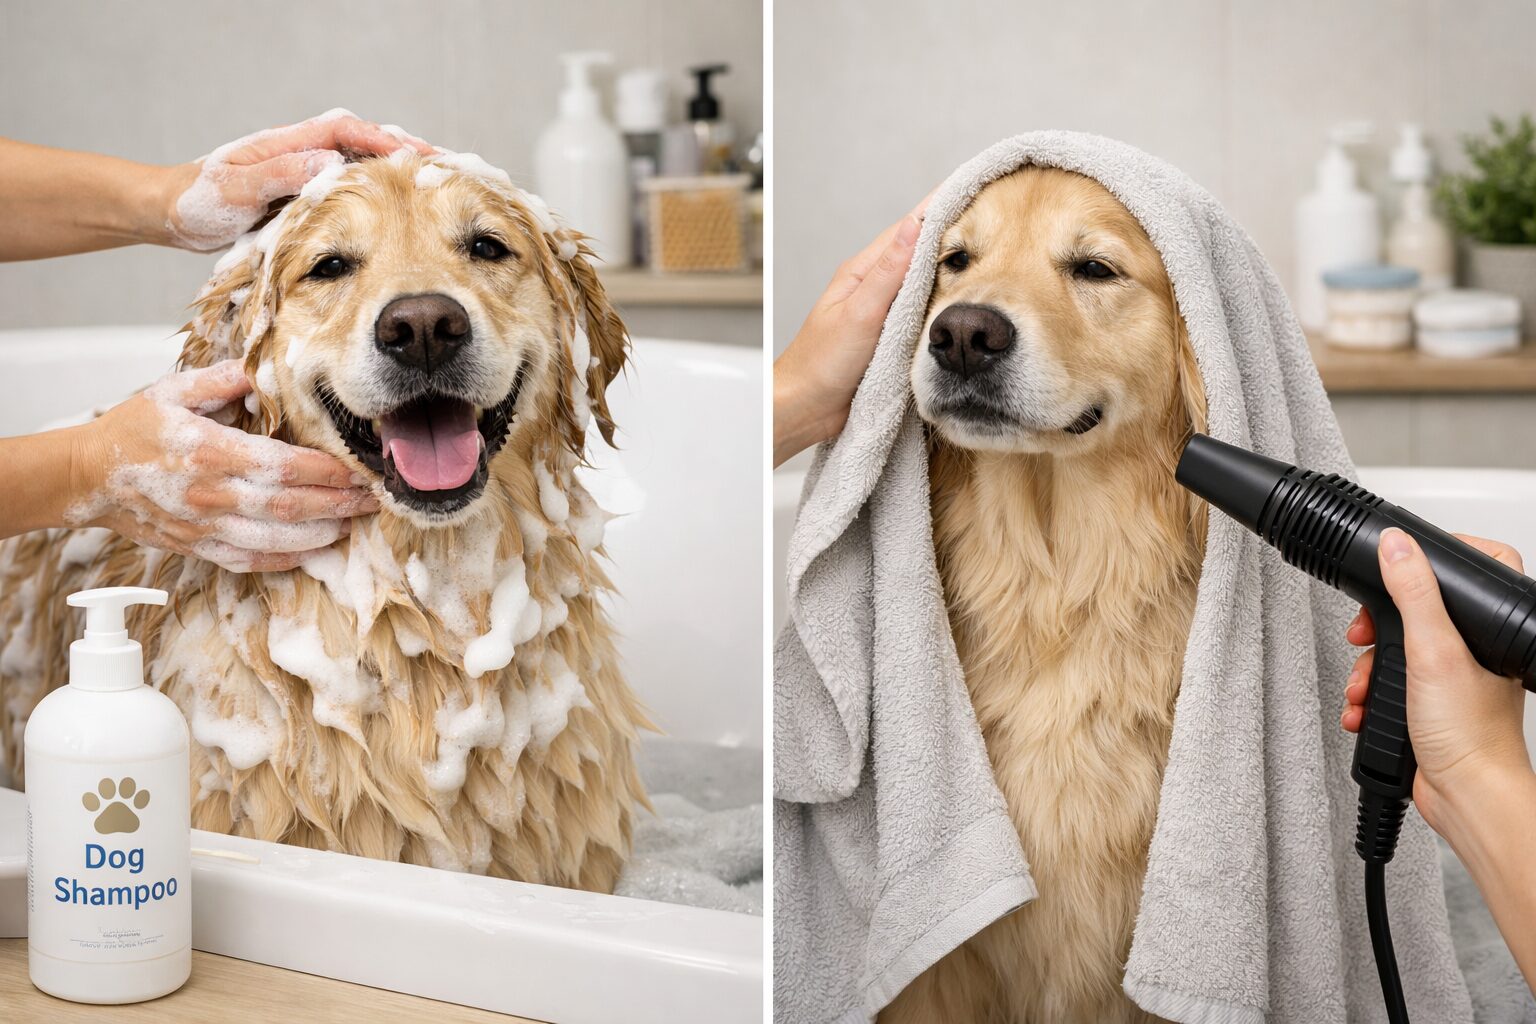
Step 3: Dry
This is often the longest step. Towel dry first to remove excess water. Squeeze the water out; do not rub vigorously, as this creates new tangles. Next, use a hair dryer. If you use a human dryer, keep it on the “cool” or “warm” setting. Never use “hot.” Keep the dryer moving so you don’t burn the skin. The coat must be 100% dry before you start clipping. Damp hair gets stuck in clipper blades.
Step 4: Clip and Cut
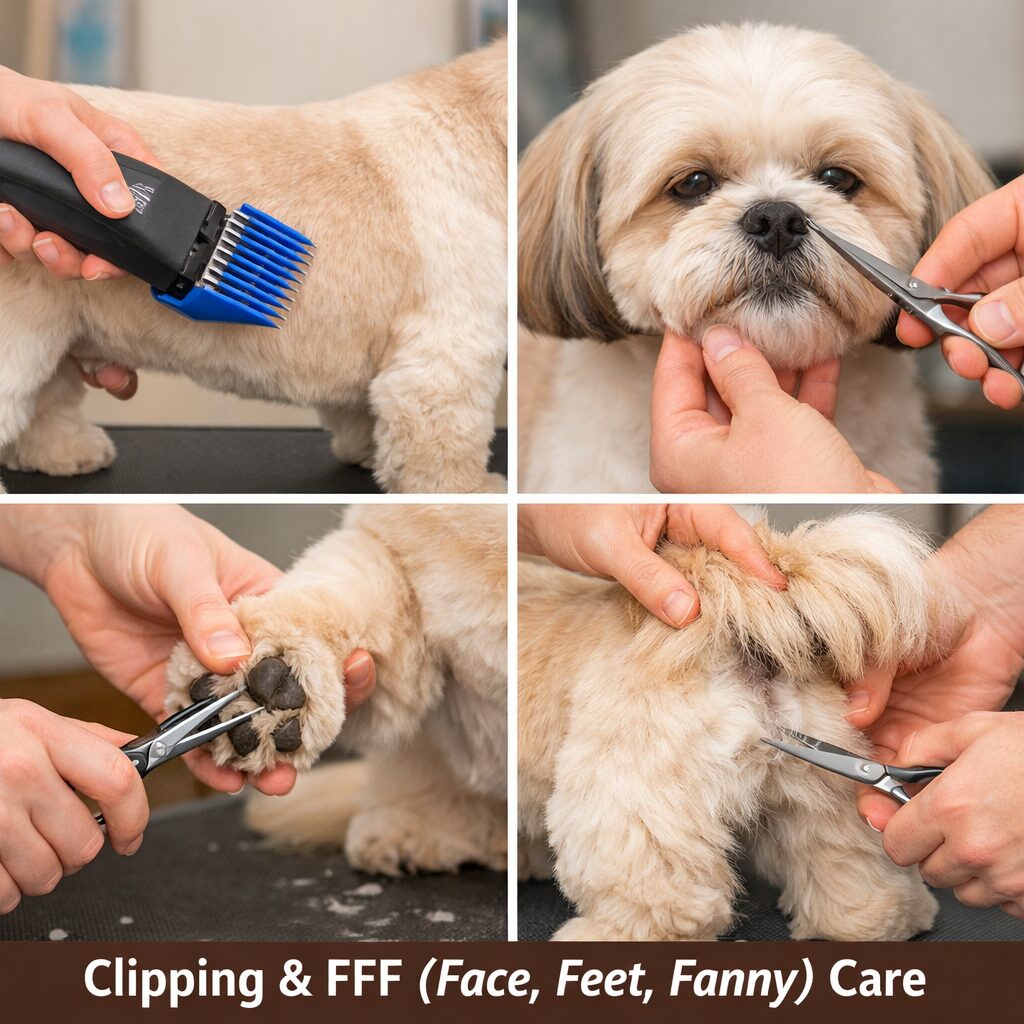
Now you can use your DIY dog-grooming techniques to trim the hair. Choose the right guard comb for your desired length. Turn on the clippers away from the dog so they get used to the sound. Place the clipper flat against the body. Move with the grain of the hair (from the neck towards the tail). Do not push hard. Let the clippers do the work. Save the head and legs for last, as they are more difficult.
Step 5: FFF (Face, Feet, Fanny)
You might see this acronym in grooming forums. What does FFF mean in dog grooming? It stands for Face, Feet, and Fanny. It refers to the dog’s sanitary and hygiene maintenance.
- Face: Use blunt-tipped scissors to trim hair away from the eyes so the dog can see.
- Feet: Trim the hair growing between the paw pads. This helps them get traction on slippery floors.
- Fanny: Trim the hair under the tail and around the sanitary area to keep them clean during bathroom use.
Step 6: Nails

Trimming nails causes the most anxiety for owners. Take your time. Hold the paw firmly. Clip only the very tip of the nail. You want to avoid the “quick,” which is the blood vessel inside the nail. On white nails, the pink quick is visible. On black nails, just do small slivers at a time. If you do nip the quick, dip the nail in styptic powder immediately to stop the bleeding.
Step 7: Ears and Eyes
The final touch is detailed cleaning. Use a damp cotton ball or a specific ear-cleaning wipe. Gently wipe the inside of the ear flap to remove wax and debris. Do not stick anything deep into the ear canal. For the eyes, wipe away any “sleep” or crust from the corners.
Find Your Perfect Home
After mastering the art of pet care, you might be thinking about upgrading your lifestyle to match your new skills. You and your pet deserve a home that accommodates your needs.
Are you looking for luxury spaces? Check out MSN Developments.
They are a premier development company in Dubai, known for creating stunning residential properties. Whether you need a spacious apartment or a villa with a garden for your freshly groomed dog to run in, they can help. Build the perfect home for you and your pet with MSN Developments.
Common Dog Grooming Mistakes to Avoid
Even with the best intentions, things can go wrong. Being aware of these common pitfalls will help you avoid them.
Safety Errors
The biggest safety error is using human products. Human shampoo is too harsh. Another error is cutting too close to the skin. Always use a guard comb on your clippers unless you are very experienced. Be extremely careful when using scissors near the tongue and ears. Dogs move suddenly.
Equipment Mistakes
Using dull blades is painful for the dog. Dull blades pull and yank the hair rather than cutting it clean. It is like trying to shave with a rusty razor. Another mistake is using a loud vacuum cleaner or dryer without first desensitizing the dog. This creates a fear association that makes future grooming sessions difficult.
Behavioral Mistakes
Do not rush the process. If you are stressed, your dog will be stressed. If the dog is wiggling too much or seems terrified, stop. You do not have to finish everything in one day. You can do the bath on Saturday and the haircut on Sunday. Forcing a scared dog to sit still creates a negative experience.
Finding Resources Near You
Sometimes, you might not have the space to bathe a Great Dane in your apartment. Or perhaps you want to try the equipment before buying it. This is where local resources come in handy.
Self-Wash Stations
Search for “DIY dog grooming near me” to find pet stores that offer self-wash stations. These places provide the elevated tub, the water, the dryers, and sometimes even the shampoo. You just bring the dog. The best part is that you leave the mess there, keeping your bathroom clean.
Rental Facilities
Look for a “DIY dog grooming station near me.” Some businesses act as a gym for grooming. They provide heavy-duty tables, professional high-velocity dryers, and grooming arms. This allows you to groom your dog yourself using professional-grade tools without the high upfront cost of buying them.
FAQ Section
How do I groom my dog myself?
Start with the right tools. Brush the coat out. Wash and dry the dog. Clip the fur slowly. Trim the nails last. Give lots of treats.
What does FFF mean in dog grooming?
It stands for Face, Feet, and Fanny. It means trimming these sensitive areas. It keeps the dog clean. It helps them see better.
What are the 7 steps of grooming a dog?
The steps are simple. Brush. Bathe. Dry. Clip the body. Trim the sanitary areas. Cut the nails. Clean the ears.
What are common dog grooming mistakes?
Cutting the nails too short. Ignoring mats behind the ears. Getting soap in the eyes. Rushing the drying process.
Conclusion
Mastering dog grooming DIY takes time and patience. Your first attempt might not look perfect. You might leave a few choppy lines or miss a spot. That is okay. It is just hair, and it will grow back. The most important thing is that your dog is clean, comfortable, and safe.
Start with small sessions. Touch your dog’s paws daily to acclimate them. Turn the clippers on just to give them a treat. Work your way up to a full haircut. Over time, you will gain confidence.
Want to read about how to take care of your dog?
Read this article.
How to Take Care of a Dog: Complete Beginner’s Guide + 10 Expert Tips